How to Enable the Church Directory in SteepleMate
The Church Directory is an optional feature in SteepleMate that must be enabled by Administrators or Super Users. This article guides you through enabling it and setting up visibility preferences.

Note: Only users with Administrator or SuperUser roles can enable the Church Directory.
Steps to Enable the Church Directory:
- Navigate to Organization Settings: From the left-hand Administration Menu, select Organization Settings.
- Go to the Information Entry and Visibility Defaults section.
- Locate the Church Directory dropdown option and choose the desired visibility level:
- Do Not Show: The Church Directory will remain hidden.
- Superuser Only: Only Super Users can access the directory.
- Kiosk User and Above: All members and guests with organization access can view the directory.
- Click Save to apply your settings then Refresh the system for the changes to take effect.
Related Articles
Managing Member Visibility in the Church Directory
SteepleMate allows members to opt out of appearing in the Church Directory. This article explains how to manage individual visibility. Steps to Manage Visibility: Navigate to the profile of the person whose visibility you want to change. In the ...How to Access and Use the Church Directory
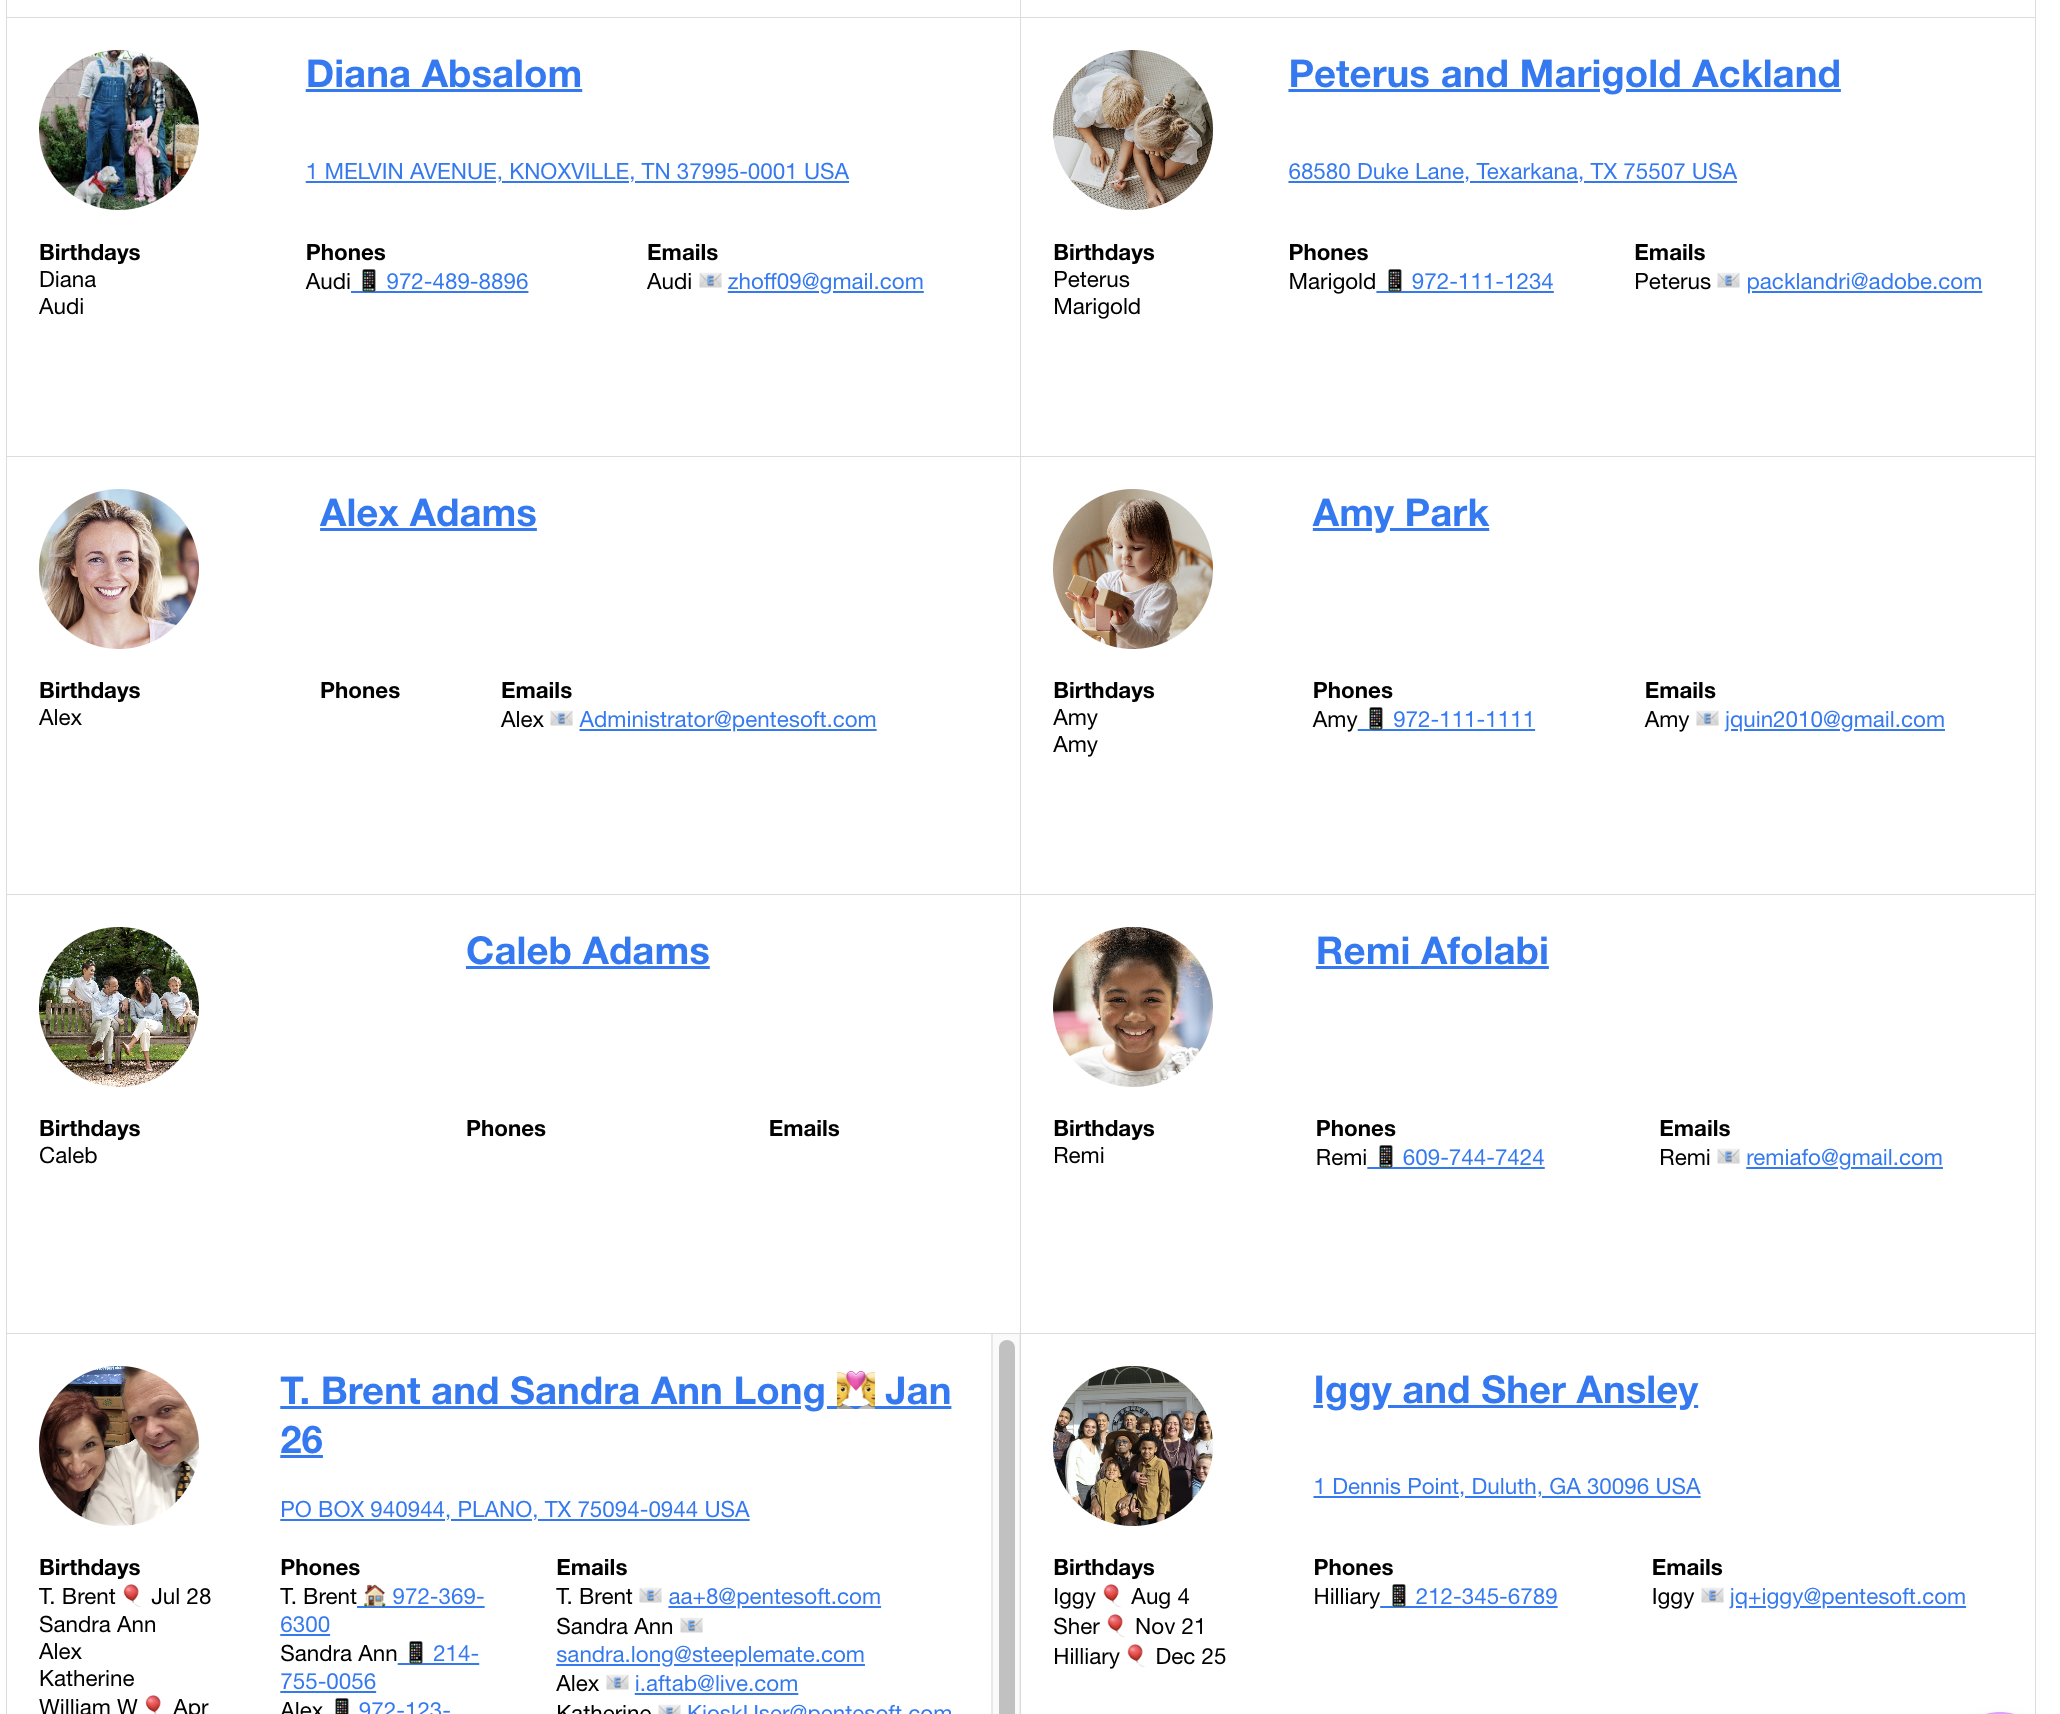
Once the Church Directory is enabled, you can view it in either Family View or Individual View. This article explains how to access and use the Church Directory in SteepleMate. Need help enabling on the Church Directory? How to Enable the Church ...SteepleMate Launch Roadmap: Piecing Together Your Church's Success
Welcome to SteepleMate! We recognize the immense potential SteepleMate holds for your church, but we also understand the challenges that come with navigating unfamiliar territory. That’s why we’re here to support you every step of the way. Our goal ...Organization Settings in SteepleMate Free
Welcome to SteepleMate! This guide will walk you through the essential steps to set up your Organization Settings so your church can start using SteepleMate efficiently. If you need additional help, don’t hesitate to reach out to your Account ...Launching SteepleMate with Registration Key Configurations
SteepleMate makes it easy for your church family to get connected, whether you’re importing your directory or enabling self-registration. This guide walks you through configuring the registration key and preparing your system for a smooth launch. ...